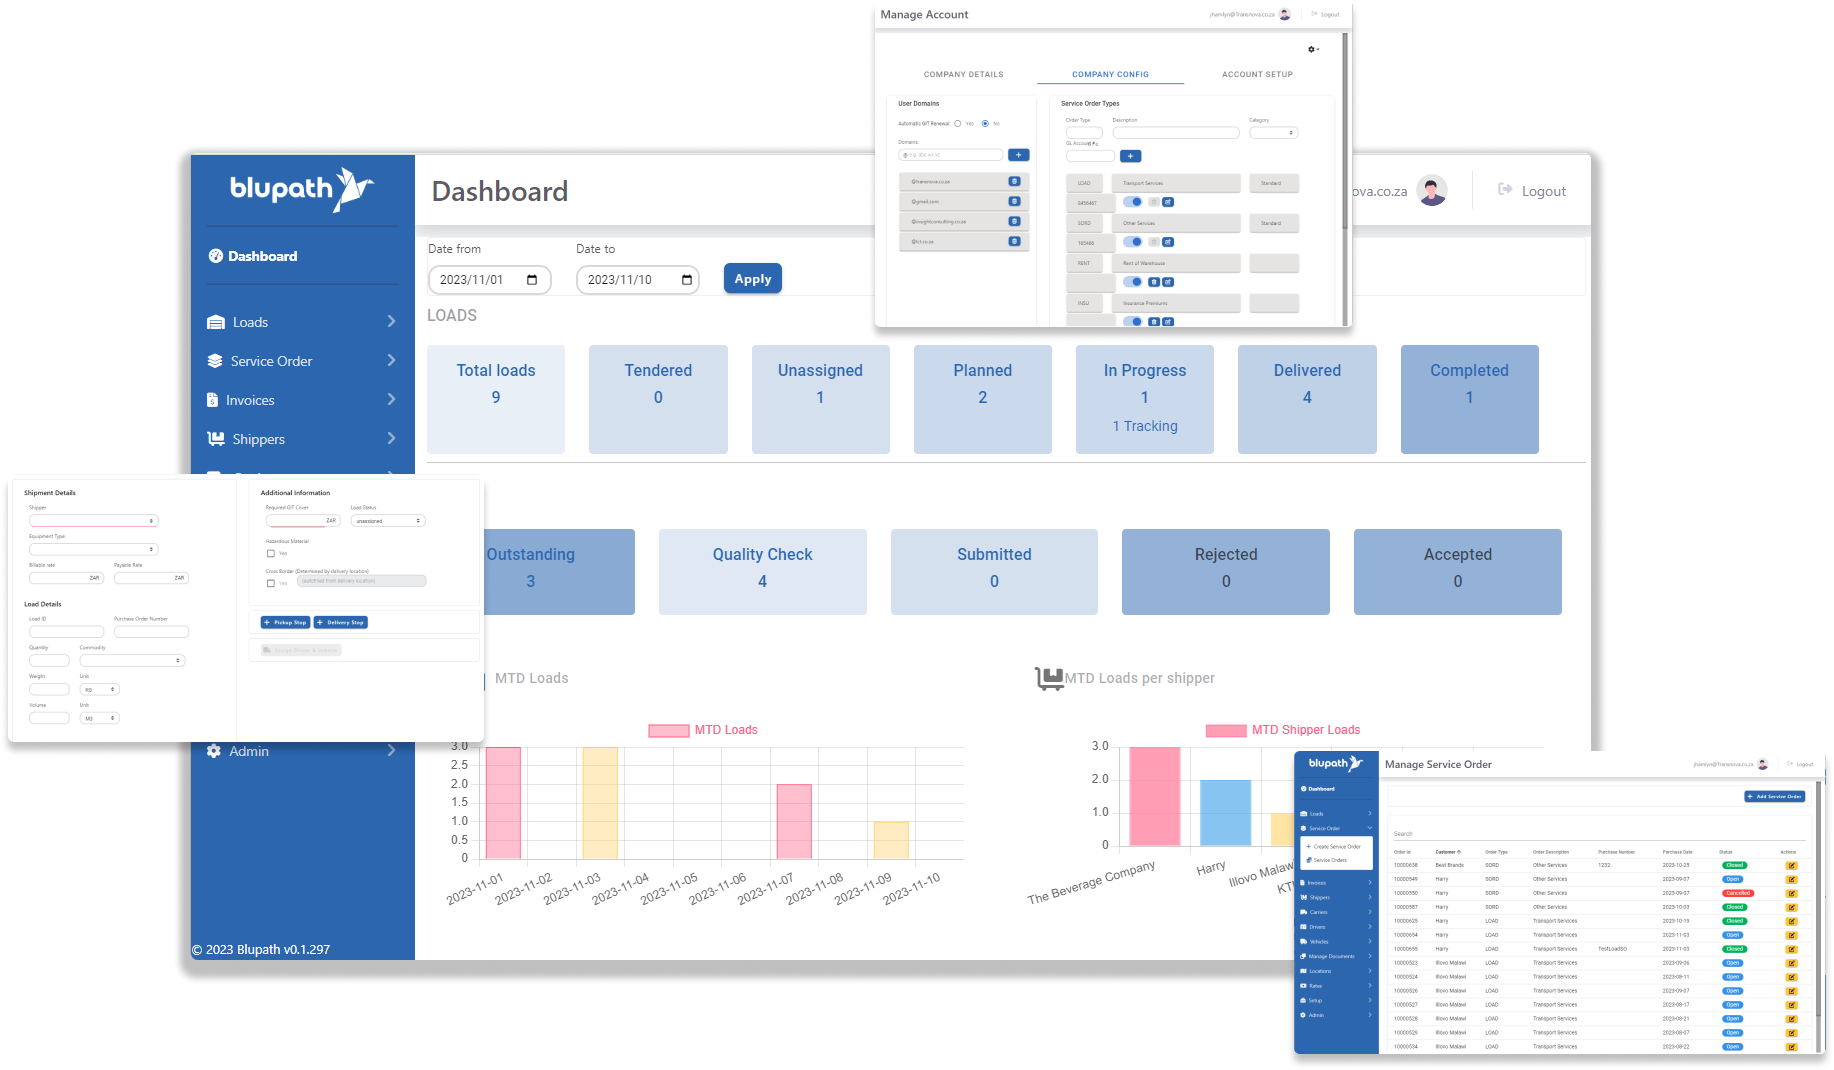
Setting Up Blupath
The following guides will show you how to go complete the crucial set-up steps to get going with Blupath.

Overview
This guide will help you set up Blupath for the first time, so you can start using it effectively right away. Ideally, the main admin on the Blupath account should lead the process, involving individuals from the operations and financial teams as needed. Before you start, make sure you've received an email from Blupath with login instructions. If you haven't, reach out to us at help@blupath.com for assistance.
To make the setup easy, it's a good idea to have the following info ready:
- Email addresses, names, and mobile numbers of your colleagues.
- Details about items or services you usually charge for.
- Information about your drivers, vehicles, trailers, and equipment.
- Business and accounting information about your customers, and subcontractors.
- Details about your accounting set-up and process.
Having this information ready will streamline the setup process, making it easier for you to use Blupath effectively.
1. Add your team
Include all your colleagues who will be using Blupath from various teams, including planning, tracking, POD review, debtor team, and the management team. Doing so ensures that you get the maximum value from Blupath, as everyone collaborates using the same information in one central location.
Adding a new user
2. Set Up Operational Master Data
Get ready to set up all the data necessary for a smooth operation of your load activities on Blupath. It is essential you add accurate and consistent data. If there is a mismatch between different systems than some functionality might not work. So, please take care when adding your master data. While not every piece of information is mandatory, it's advisable to input as much as possible now, as it will prove beneficial in the future. The more details you provide during this setup, the better equipped you'll be to run your load operations efficiently later on.
Add a Driver
Drivers will be assigned loads in Blupath for transporting so it is important their details are correctly added to the master data. The more information that is added the more powerful Blupath becomes, and the more it will be able to help you with operations. For example; adding passport information will enable validation checks for cross-border loads, and an expiry date present for a PDP can trigger a notification when it is close to expiring.
Adding Equipment Types
When adding a equipment type, use a short code for quick reference that makes sense for your business to easily refer to. Describe the type of equipment e.g. a drop side super link, tanker, taught liner, etc. Add the max payload mass the equipment is rated for and the volume of load it is equipped to carry.
Adding Vehicles
Vehicles, along with drivers, will be assigned loads in Blupath for transporting so it is important the details are correctly added to the master data. The more information that is added the more powerful Blupath becomes, and the more it will be able to help you with operations. For example; adding the last and next inspection date can be used in notifications when it is due, and track which vehicles has been recently inspected and which ones still need to.
Adding Trailers
Use the add vehicle functionality to record the details of the trailers used in deliveries. Adding the registration number to both the registration field and to the trailer field will allow you to differentiate it from vehicles. In order to indicate what equipment type it is, add it before doing this so you can select it when creating the trailer. You can indicate if the vehicle or trailer is active and ready to be used or inactive if it is unavailable due to repairs or similar situations.
Add Commodity Types
Adding Locations
3. Set up & Configure Financial Details
Completing this step is vital to guarantee a seamless and precise invoicing process. Include all the foundational information necessary for your accounting procedures. Begin with detailing what you charge for, then specify your clients and any subcontractors you use. Lastly, outline your contract rates and how you manage changes in fuel prices. This input ensures a solid foundation for your accounting processes making sure you can get paid.
The Item Master
Send Customer Application Form
Part One - Send Application
Send Supplier Application Form